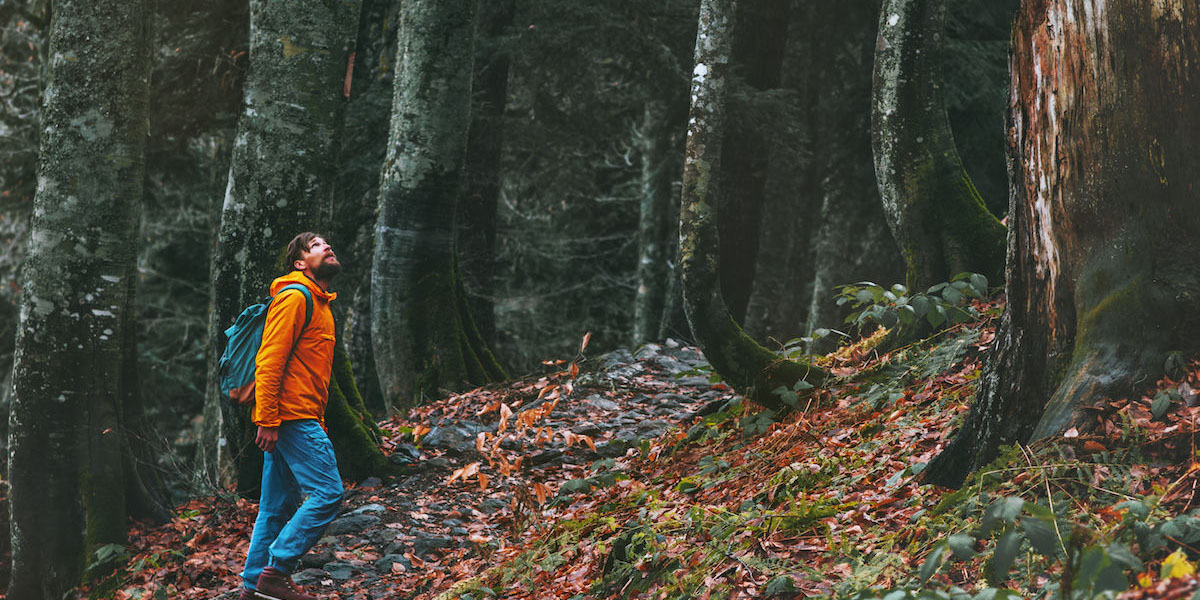
When you step into the woods, whether for a hike, a hunt, or just a quiet afternoon outdoors, you never expect things to go wrong. Yet even experienced outdoorsmen and regular hikers can lose their sense of direction in an unfamiliar forest. A wrong turn, a fading trail, a dead phone battery, or a mechanical failure on a remote back road is all it takes to find yourself suddenly alone with nothing but your instincts. In that moment, the familiar world feels far away, and every sound, shadow, and rustling leaf takes on new weight.
Surviving in the woods isn’t about brute strength or wilderness heroics. It’s about meeting your most basic needs with whatever nature has placed around you—finding water, building shelter, protecting yourself from the cold, and staying calm enough to make smart, steady decisions. Forests can be unforgiving, especially when the daylight fades and the temperature begins to drop, but they also offer more resources than most people realize. With a clear mind and a few fundamental skills, you can turn the environment from an enemy into an ally.

This guide walks through each essential step of survival when you have nothing but your hands and the materials you find along the way. It covers how to locate water, build warmth, forage safely, protect yourself from wildlife, send out signals for rescuers, and navigate with natural clues if you must move. These are not complicated techniques—they are practical, reliable, and rooted in the ways humans have survived in the wild for thousands of years.
If you ever face the unexpected and find yourself lost, this knowledge becomes your most valuable tool.
How To Survive In The Woods When You're Alone With Nothing
1. Find Water

If you ever find yourself alone in the woods with absolutely nothing, the very first battle you must win is hydration. A person may push through hunger for quite a long time, but the human body simply cannot function without water for more than a few short days. Every part of your system—your blood flow, body temperature, awareness, balance, and basic ability to think—relies on steady hydration. When you’re lost, stressed, and physically active, your body uses up water even faster, so locating a source becomes your immediate mission.
Start your search by scanning and listening rather than wandering aimlessly. Many people waste precious energy walking in circles without stopping to observe their surroundings. Instead, stand still for a moment and let the sounds of the forest guide you. Running water often reveals itself long before you see it. If that doesn’t help, look for animal tracks, which tend to form faint pathways through the underbrush. Most creatures travel to water daily, so following their movement patterns can lead you toward a natural source.
Springs and small streams are the most reliable and safest to drink after purification, because moving water is less likely to harbor dangerous bacteria. Rivers can be helpful, but they may carry pollutants, and lakes or ponds should be used only when you have no better option, as still water can hide parasites. If you find nothing by sound or tracks, head toward lower ground. Water almost always gathers in valleys, dips, and shadows beneath hills.
Rainwater is another practical option. You can gather it by leaving out containers or spreading something like a jacket or plastic sheet between branches so droplets collect and run into whatever vessel you use. Even dew can keep you going. In the early morning, soak up moisture from leaves and grass using a piece of cloth, then squeeze it into your hands or a container.
Digging a small pit near green vegetation might reveal groundwater slowly seeping up. In winter climates, clean snow can be melted for hydration, though eating it directly will cool your core temperature and potentially lead to hypothermia—always melt it first if you can.
Whatever source you find, purify it before drinking. Boiling water for several minutes is one of the most dependable methods. If fire isn’t possible yet, even filtering through cloth is better than nothing, and in strong sunlight over many hours, UV exposure can reduce some pathogens. Dirty water is never ideal, but in a survival situation, a small risk is often better than the certainty of dehydration.
2. Make a Fire
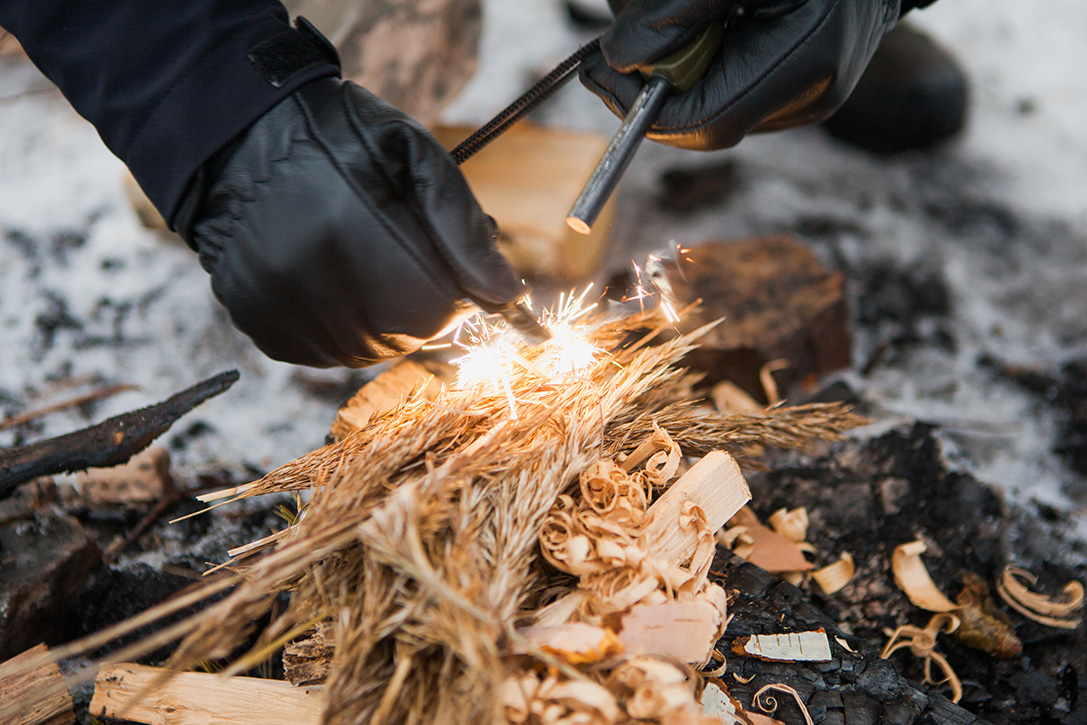
Once you’ve located a water source, your next crucial step is creating fire. Fire gives you warmth at night, the ability to boil water, protection from animals, a way to cook food, and one of the most effective long-distance rescue signals. Your fire becomes the heart of your temporary camp, the one element that helps you feel grounded when everything around you feels unpredictable.
Start by choosing a safe spot. Clear away leaves, twigs, and anything flammable until you have a circle of bare earth. Surround that circle with stones or logs to create a barrier that keeps embers from rolling outward. Look above you as well—low branches or dry overhangs can be a serious hazard if the flames grow unexpectedly.
Gather your materials in three stages: tinder, kindling, and fuel. Tinder is the delicate, dry material that catches spark or flame easily—shredded bark, dry grass, crumpled leaves, or even pocket lint if you happen to have any. Kindling consists of small sticks that burn quickly but steadily, allowing flame to strengthen. Lastly, fuel is the thicker firewood that keeps the fire alive for longer periods once the blaze is stable.
Many people arrange their fire structure like a small teepee, with kindling supporting the tinder at the center. Others prefer a crosshatch pattern where sticks are layered in alternating directions. Both work; what matters is leaving enough airflow for flames to grow.
If you have matches or a lighter, your work becomes easier. But if not, there are still ways forward. Rubbing flint against steel creates sparks. Any lens—eyeglasses, a magnifier, binocular lenses—can concentrate sunlight onto your tinder until it glows. If you must rely on friction, carve a small notch into a flat piece of wood, place a spindle into the groove, and roll it rapidly between your hands until heat produces an ember. Once you see that tiny red glow, move carefully: place the ember onto your tinder, cup your hands around it, and blow gently until it ignites.
It may take persistence, but fire is one of the most empowering tools you can create with nothing more than the natural world around you.
3. Building a Shelter
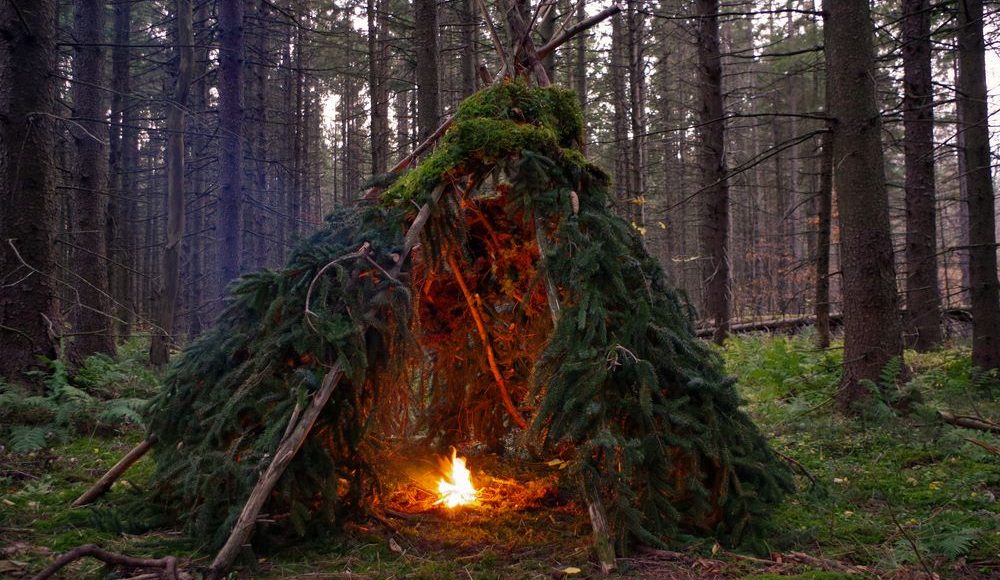
Now that you have water and fire, your next priority is a place to rest and protect yourself from the elements. Even in mild temperatures, sleeping directly on the cold ground can drain your body heat dangerously fast. A well-thought-out shelter keeps you warm at night, shields you from rain or wind, and gives you a psychological sense of security—a small piece of order in a situation that feels chaotic.
Choose your campsite with intention. You want flat, stable ground safely away from potential flooding zones, especially anything near rivers, creeks, or narrow valleys where water can surge without warning. Avoid open ridges or hilltops that get blasted by wind. Ravines can funnel cold air and become traps during storms. Scan the area for hazards like dead trees, loose rocks, or anything that could fall during the night.
Once you find a good spot, look at the natural materials available. Fallen branches, leaves, pine needles, and bark can all be used. The classic A-frame shelter is one of the most reliable designs. Find two trees about six feet apart and wedge a sturdy horizontal branch between them about chest-high. Lean a series of smaller branches against that beam on both sides to form triangular walls. Cover these walls with layers of leaves, soil, ferns, or pine boughs to insulate and block wind.
If temperatures are milder, a simple lean-to can be enough. Build it similarly to the A-frame but with branches leaned on only one side of the support beam, positioned so the wall faces incoming wind. You can reinforce it with layers of leaves or grass. A small fire placed in front of the open side reflects warmth back into the shelter.
No matter what shelter you build, elevate yourself off the ground. Create a bed from bundled leaves, folded pine branches, or anything soft and dry. This barrier between you and the earth can be the difference between a safe night and dangerous hypothermia.
4. Finding Food

After water, fire, and shelter are handled, you can begin thinking about food. Hunger is uncomfortable but not immediately dangerous; however, food boosts your energy, sharpens your thinking, and helps you keep moving. In the woods, the real challenge is identifying what’s safe to eat and avoiding anything poisonous.
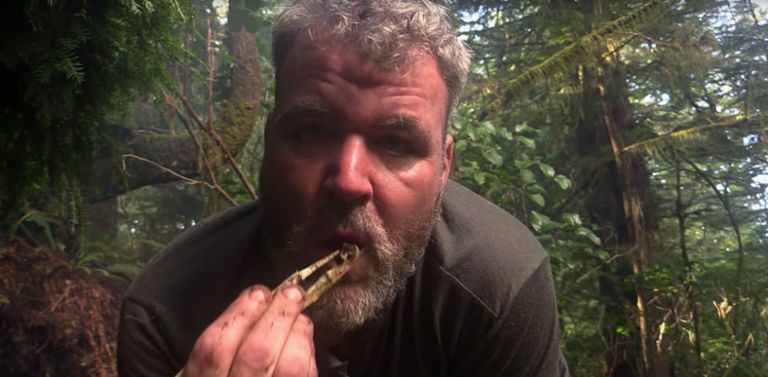
Stick to what you know. Many harmless plants grow in forests—clover, dandelion leaves, and young shoots of familiar plants can be eaten. Small insects such as crickets, beetle larvae, and grasshoppers provide surprising amounts of protein. Fish and small animals can also be valuable sources of energy if you can catch them.
Avoid mushrooms entirely unless you are absolutely certain. Many edible and toxic species look nearly identical. White or yellow berries, shiny leaves, milky sap, umbrella-shaped flowers, and overly bright insects usually indicate danger. Caterpillars are best avoided altogether.
If you must test a plant, use the Universal Edibility Test—a slow, methodical process where each part of a plant is rubbed on the skin, then the lip, then tasted in tiny amounts with long waiting periods in between. It takes time, but it prevents poisoning.
Bird nests sometimes contain eggs, and watching which plants birds are eating can give you clues about what may be safe. But always handle high places carefully when climbing.
5. Protecting Yourself From Wild Animals

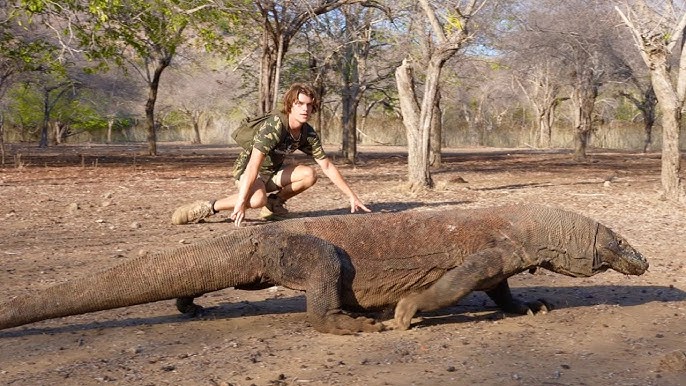
Most forest animals want nothing to do with you, but you still need to move carefully and respect their space. Snakes often hide in tall grass, under logs, or within dark crevices. Stepping blindly into these areas is how most bites happen. If you’re bitten and far from help, the key is to stay calm, keep movement minimal, and position the bite below heart level. A loose bandage placed a few inches above the bite can slow venom spread, but never tighten it like a tourniquet.
Bears rarely attack unless startled or defending food. Make noise as you walk to avoid surprising one. Keep your cooking area far from your shelter so attractive smells don’t draw animals too close. If you meet a bear, avoid screaming or running—stand still, lower your gaze, and slowly back away. If a bear attacks despite your efforts, curl on the ground and protect your neck and head with your arms.
6. Signaling for Help

Your final major priority is alerting rescuers. Fire is one of the most effective signaling methods. Build a strong, stable fire and add green vegetation on top when you want to send smoke skyward. Thick, dark smoke attracts attention from great distances. Three fires arranged in a triangle is widely recognized as an international distress signal.
If you can’t build a fire, create large contrasting shapes on the ground using stones, logs, or branches. Triangles or large X-shapes are easy for pilots to identify. Even a simple mirror or reflective object can be aimed at passing aircraft to catch the sun and flash bright signals through the trees.
7. Finding Your Way Out

Leaving your campsite should be a last resort—only when you’re certain help isn’t coming. If you must venture out, mark your route clearly. Break branches, build small stone stacks, carve symbols into bark—anything that ensures you can retrace your steps if needed.
Climbing to higher ground gives you a broader view of the landscape. Look for roads, rivers, or clearings. If you can’t see anything useful, rely on natural cues. Remember the sun’s path: rising in the east, setting in the west. The shaded side of trees often faces north. Following streams downhill is one of the most reliable methods of eventually reaching signs of civilization.


