


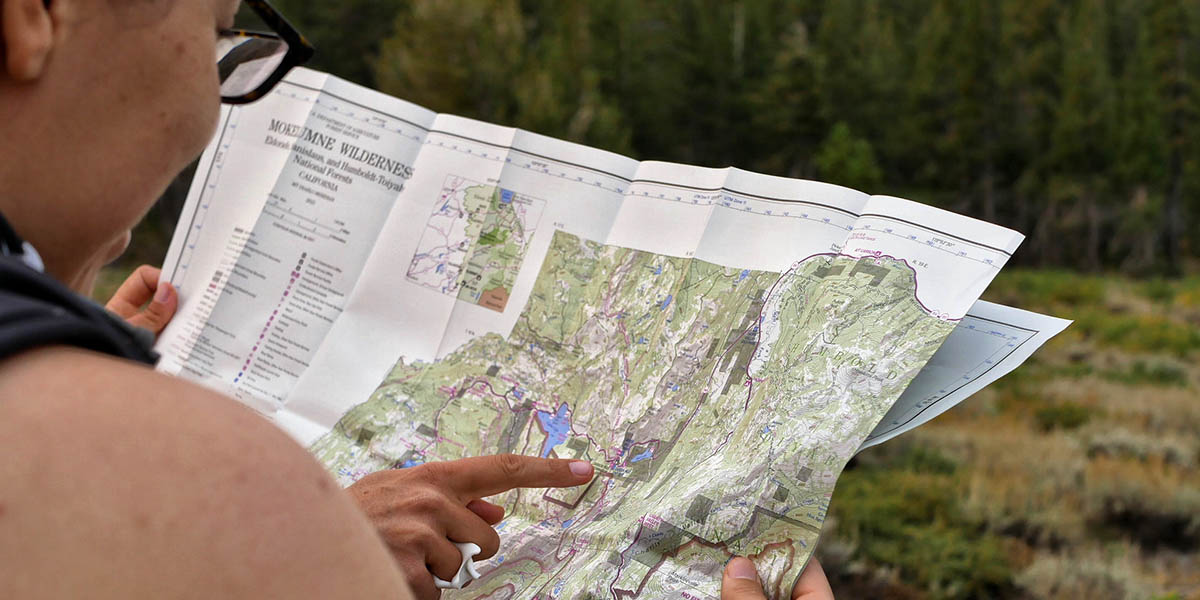
What’s the real difference between a familiar everyday map and a topographic map? A topo map lets you look at the land the way it actually exists — in three dimensions — even though it’s drawn on a flat sheet. Elevation, slopes, valleys, ridgelines, rivers, vegetation density, and the way the land bends or rises all become readable when you know how to interpret the contour system. That single feature is what separates a topo map from other kinds of maps and makes it one of the most powerful tools for anyone spending time off-trail, deep in parks, mountain regions, or backcountry terrain.
Many people rely heavily on phones and GPS units, but when batteries die or reception disappears, those digital comforts quickly become useless. A paper topo map paired with a compass works in every condition, and it teaches you something else too — an understanding of the land beneath your feet. When you learn to study the twists of contour lines, the spacing between ridges, or the shape of a valley, you begin to read the landscape the way hikers did decades ago. There’s something quietly satisfying about that skill, and brushing it up is well worth your time.
How to Navigate Like a Pro And Read a Topo Map
What is a topographic map?
A topographic map is specially designed to show the physical characteristics of an area’s terrain. Unlike simplified tourist maps or road maps, a topo map reveals elevation changes, landforms, waterways, vegetation patterns, and the overall structure of the landscape. Everything from steep cliffs to soft rolling hills becomes visible through its contour design. This is why backpackers, mountaineers, and serious hikers rely on topo maps — they allow you to visualize what you’re about to walk through rather than guessing based on a simple line drawing.
Why do I need a topo map?
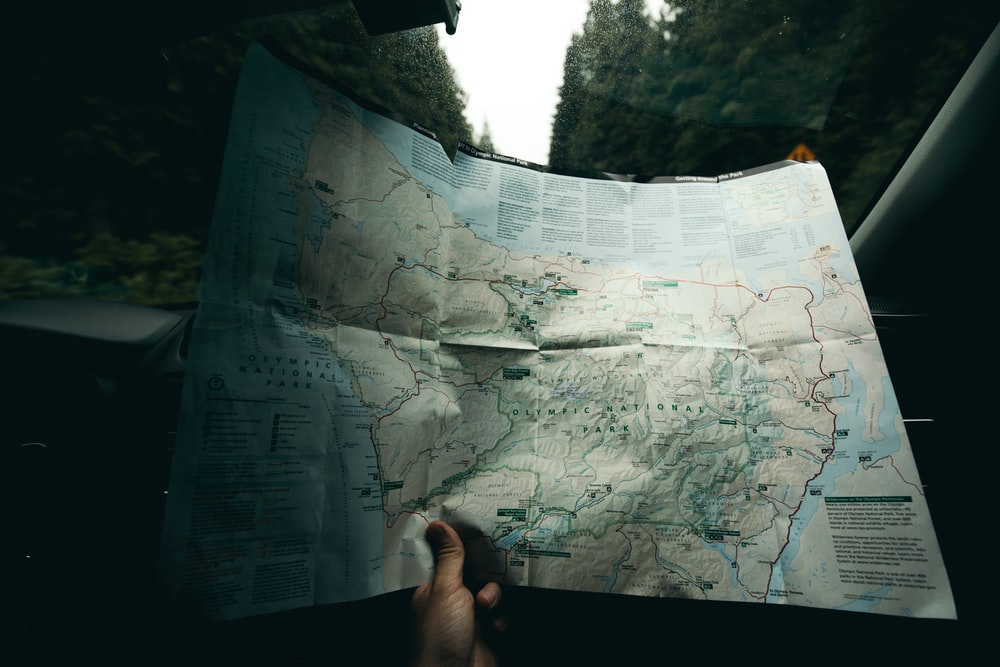
Large park PDFs or JPEG-style trail maps give you only the basics: a general path, a few prominent landmarks, and maybe some distances. But they lack critical outdoor information such as elevation changes, contour detail, magnetic declination, vegetation density, and small but important human-made features. If you get lost with only a simple trail map, it may help you identify the trail’s general shape — but it won’t give you the tools to find a safe route out.
A topographic map, however, contains a complete set of clues. You can see how steep your climb will be, how to navigate ridges, where cliffs lie hidden, where rivers flatten out, and which areas contain vegetation too thick to pass easily. Many people plan entire multi-day trips solely from a topo map because it reveals the land in enough detail to choose campsites, water sources, and strategic routes long before stepping outside.
Parts of a Map
Every topo map is built around three main elements: contour lines, scale, and legend. Once you understand these, you can interpret almost any area’s terrain accurately.
Contour Lines

Contour lines form the foundation of topographic reading. Each line links points of equal elevation, tying together the height of the land in a way that lets your eyes reconstruct the three-dimensional world on a flat page. They show you where the land rises steeply, where it levels out, and how different slopes connect to each other.
When contour lines pull tightly together, that section of terrain is steep — often very steep, such as the vertical faces shown in rugged mountain regions. If the lines spread out and leave broader gaps, the slope is gentle or rolling. You’ll notice that every fifth contour line is printed thicker; this is known as an index line, and it usually has the elevation written somewhere along it. Those index lines help anchor your sense of altitude as you scan the map.
The contour interval, found in the legend, tells you exactly how much elevation changes from one line to the next. When you combine the contour interval with the index line elevations, you can calculate the precise height of any point on the map. It’s a simple system, but it unlocks complex terrain: peaks shown as rings, valleys revealed by U- or V-shaped patterns, ridges stretching outward like raised spines, and depressions indicated by circles with tick marks.
A helpful exercise is sitting down with a topo map of a place you already know — maybe a local hill, a valley near your home, or a mountain you’ve hiked — then trying to match visual memory to the contour shapes. The more you practice, the easier it becomes to interpret land features instantly, even in unfamiliar areas.
Scale
Scale represents the mathematical shrinkage of real land onto the printed map. It’s written as a ratio, such as 1:24,000, meaning one inch on the map equals 24,000 inches — roughly 0.38 miles — in the real world. Maps with a smaller denominator (like 1:12,000) cover less area but show more detail, whereas larger denominators (such as 1:50,000) show broad terrain with less fine structure.
Topo maps usually provide a representative scale as well: a small bar marked in miles or kilometers. This makes it easier to measure hiking distance using a piece of string or the straight edge of a compass. If you’re planning a route with switchbacks or twisting ridgelines, using something flexible like string helps track the curves accurately instead of estimating with straight lines.
Scale also informs how much attention you should pay to micro-features. A highly detailed map will show small streams, minor ridges, or even individual footpaths, while a wide-area map focuses more on major terrain features. Knowing this helps you avoid misjudging distances or expecting nonexistent details.
Legend
The map legend functions as your personal translator. It explains how to read all the symbols, colors, and metrics used on the topo map. Without it, even experienced hikers would struggle to understand certain regional features. Key elements include:
● Source data
Where and when the map was created. Always check the publication date — updated maps reflect changes like new roads, altered riverbeds, or shifting vegetation.
● Scale
The relative measurement between map distance and real-world distance.
● Contour interval
The vertical change represented by each contour line.
● Magnetic declination
The difference between true north and magnetic north in that area. Declination affects compass accuracy, so setting it correctly is essential before navigating.
● Color key
Colors reveal different forms of vegetation and terrain. Dense forests appear darker, sparse vegetation appears lighter, and water bodies show up as shades of blue. Snowfields, open rock, and glacial regions each have their own shades as well.
● Symbol key
Every standardized symbol represents something specific — buildings, trailheads, rivers, cliffs, marshes, waterfalls, mines, glaciers, roads, railways, and many other features. Learning these icons is crucial for planning safe routes and identifying hazards.
Preparing for a Trip With a Topo Map
A topo map becomes invaluable when planning an outdoor journey. It allows you to understand the landscape before you ever step foot onto the trail. Trails are usually drawn as thin black lines, while roads appear thicker or in different colors depending on the map’s source. Use the contour lines to determine whether your chosen path climbs gently or leads through steep, exhausting terrain.
If a route crosses tightly compressed contours, you’re facing a significant elevation challenge — one that may require rerouting. Meanwhile, wide gaps between lines indicate more comfortable walking conditions. By reviewing the map ahead of time, you can avoid cliffs, choose easier ridge lines, or identify more reliable water sources.
When estimating distances, string is your best friend. Lay it along every curve of the trail and compare the length to the representative scale. This gives you a realistic mileage estimate, not an oversimplified straight-line guess.
Using the legend’s symbols, you can also spot areas to avoid, such as mine shafts, bogs, or rough marshlands. Likewise, you can pinpoint ideal camping areas, water access points, and bypass routes.
Smart hikers keep their topo map easily accessible while walking — tucked into a pocket, clipped under a strap, or folded inside a small map case. Regularly confirm your location based on visible peaks, bends in the trail, or changes in terrain. Over time, this habit builds confidence and drastically lowers the risk of becoming disoriented.
GPS units and phones are useful, but they should serve as a reference rather than a crutch. Compare your map-based position with your device only to refine your skill. With practice, your ability to pinpoint your location using only map and compass will match — and sometimes surpass — digital tools.
Where to Get a Topo Map
Topographic maps are available from a variety of sources, and the right choice depends on your location, the type of trip you’re planning, and how much detail you want. Some hikers prefer official government maps for accuracy, while others like specialty maps that highlight trails or backcountry features more clearly. Knowing your options helps you gather the most reliable tools before heading out.
USGS
The United States Geological Survey provides free downloadable topo maps in several formats. These maps are updated regularly—usually every few years—and are considered a standard reference for most hikers in the United States. They cover enormous swaths of land, making them useful for long-distance travel and for exploring less-developed areas.
Local government agencies
Many national parks, national forests, and state-managed lands produce their own high-quality maps. Park rangers often rely on these versions themselves because they include information tailored to the landscape: trailheads, seasonal water sources, boundaries, and specific warnings unique to the region. If you’re planning a trip to a protected area, checking the official park website or onsite visitor center is a smart move.
Specialty companies
Private mapping companies create detailed maps for popular outdoor regions. These maps often highlight hiker-specific features such as backcountry campsites, designated water sources, scenic viewpoints, or precise trail grades. The advantage is clarity and ease of use—the layouts tend to be visually friendly and designed with backpackers in mind.
Independent websites
Numerous online platforms allow you to generate customized maps, sometimes based on open-source data or satellite imagery. You can tailor these maps for off-trail exploration or niche areas not covered by commercial publishers. However, be cautious—quality varies widely. Always confirm that the information is current and that contour data is consistent with reputable sources.
Navigate Like a Pro
Liz Thomas has walked more than 15,000 miles and once set the women’s unsupported speed record on the Appalachian Trail. Her experience shows that navigation is not just a technical skill—it’s also about managing your own body and mind while making smart decisions in unfamiliar terrain. Below are her essential insights, expanded with added detail to help you navigate the wilderness with confidence.
1. Keep your mind and body sharp
It’s incredibly difficult to navigate accurately when you’re physically depleted. Hunger, dehydration, cold, and exhaustion all impair your ability to analyze terrain, read contour lines, and make sound decisions. A tired brain becomes disorganized, and one wrong turn can quickly escalate into a dangerous situation. Staying fueled, warm, and hydrated is one of the most underrated navigation skills.
2. Confirm your location often
Many hikers lose track of their location simply because they wait too long before rechecking the map. Liz recommends keeping your map somewhere extremely accessible—hand, pocket, or even tucked against your clothing so you can pull it out instantly. Check the landscape regularly for reference points such as ridges, bends in the trail, or noticeable changes in vegetation. The more frequently you verify your position, the less likely you are to drift off-course without noticing.
3. Learn to read contour lines deeply
GPS devices can pinpoint your coordinates, but they can’t teach you how the land feels. Understanding contour lines lets you visualize the terrain around you instead of simply following a dot on a screen.
A great starter exercise is the “Knuckle Mountains” method. Make a fist and imagine your knuckles as miniature mountains. Draw an imaginary line around each knuckle at the same vertical height, forming little rings. These represent contour lines. By flattening your hand and imagining it as a landscape, you can see how concentric circles indicate peaks, how spacing shows slope steepness, and how variations in shape outline ridges, valleys, and saddles. This simple mental model helps you understand the real terrain shown on your map.

Further contour notes:
-
Close contour lines mean the land rises rapidly.
-
Opposing U-shaped shapes indicate saddles.
-
Circles show peaks, but also depressions depending on direction.
-
V-shaped lines often follow valleys or drainage paths.
Recognizing these patterns quickly becomes second nature with practice.
4. Understand the difference between true north and magnetic north
Your compass needle points to magnetic north, not the geographic North Pole. The angle between these two directions is called declination, and it changes depending on your region and even over time. Failing to account for declination can put you significantly off track, especially over long distances. Before starting your hike, adjust your compass’s declination according to the value listed on your topo map. This small step dramatically increases navigation accuracy.
5. Think like a railroad builder
When traveling off established trails, imagine how a railroad engineer would chart a line through the land. Railroads rarely climb steep walls or zigzag without reason—they follow gentle grades, open valleys, and natural corridors. This mindset helps you choose routes that conserve energy and avoid unnecessary elevation gain.
6. Use the landscape as guide rails
Rivers, ridge lines, and prominent peaks act like natural boundaries that help keep you oriented. If you keep a ridge on your right or a river on your left, you can navigate more confidently without constantly checking the map. These “bumper lanes” are especially helpful in low-visibility conditions or in dense forest.
7. Avoid shortcuts
Shortcuts are tempting, especially when tired, but they cause erosion and increase the risk of losing the trail. Switchbacks are designed for safety and stability, both for the hiker and the terrain. Stick to the intended route unless you have a strong navigation reason to deviate.
8. Enter the correct datum in your GPS
GPS technology is powerful but only if your settings match your map. Coordinates measured using one datum—like modern WGS 84—may not align accurately with a map printed using an older datum such as NAD 27. A mismatch can place your marked location hundreds of meters from your actual position. Always verify that your GPS datum matches the one printed on the map before heading out.